Post your Resto and Rejuve Photos Here

bumperquip

Active member
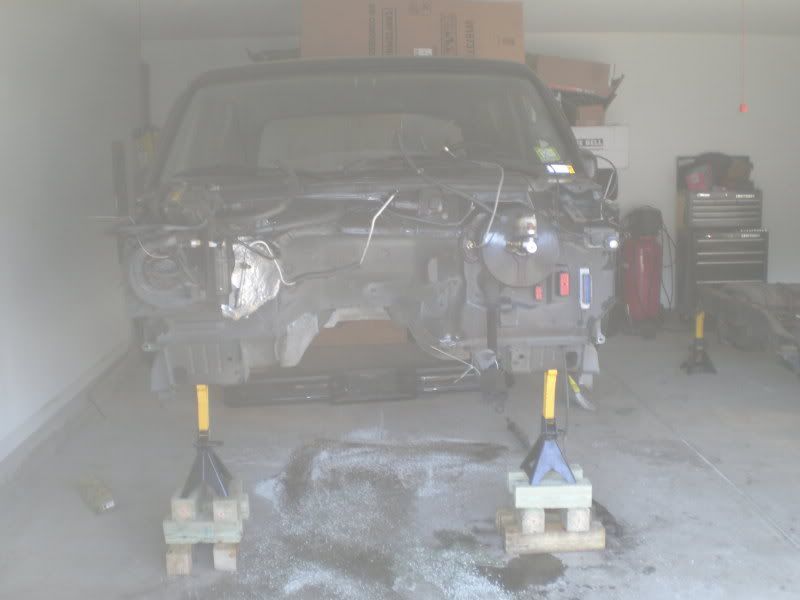
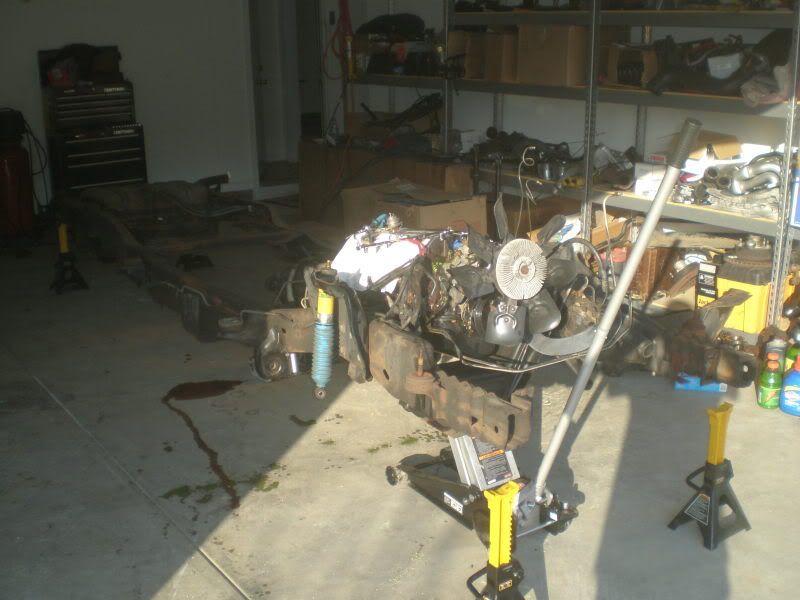
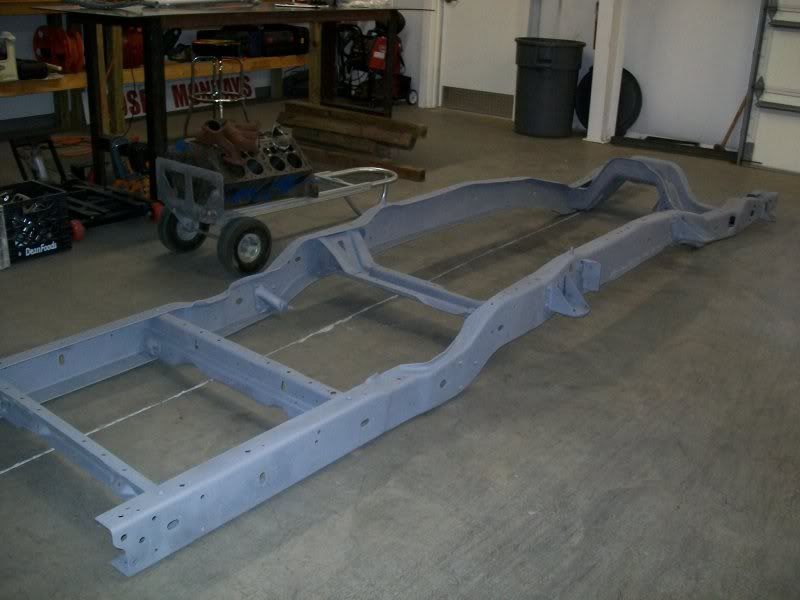
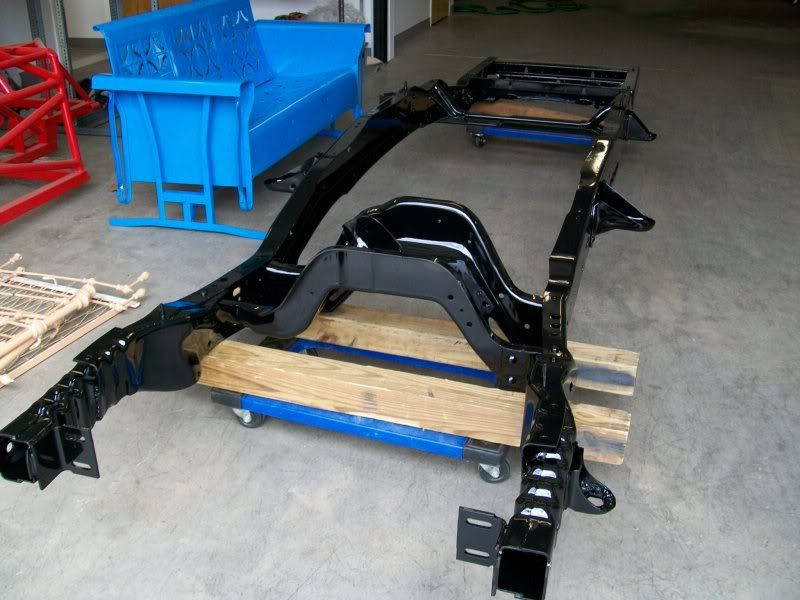
Post any of your restoration, reconditioning or rejuvination photos here.

Along with the photos please explain your project and the process(es) and products you used in completeing the project.

Tips and tricks for the particular project are welcome as well.
 
Last edited:
A/C Box Heat Pad Reconditioning...

Not sure if you guys care about this sort of thing or have any notion to keep your nasty, torn to shreads heat pad in place, but I just finished rejuvintating mine and I think it'll work just fine...


Mine was baaad. So I reinforced the edges with duct tape (the bright silver metallic stuff) and covered all the torn-open spots the same way. Then I covered the whole thing with aluminum foil tape (the stuff used on home A/C ducting). Perhaps with the added R value, my A/C will work even better.

The shape of the pad changed just a tad, mostly at the cutouts but with the shapability of the foil tape, I think it'll fit well.

I'm hoping that that 3M heavy duty two sided foam tape will work to attached it instead of staples.
 
Last edited:
The Fender wells and firewall are painted and the motor went in yesterday.

DSC02354.JPG


DSC02355.JPG


The new core support is painted and installed!!

DSC02356.JPG
 
Frame Rust Treat and Refinish

Frame rail, cleaned/degreased and coated with RustBullet rust proofer.

FrameTreat2_070409.jpg

FrameTreat1_070409.jpg


Frame rail finished with Rustoleum hammered metal black.

FrameFinish2-070709.jpg

FrameFinish3-070709.jpg

FrameFinish1-070709.jpg
 
Very Nice Ron! You must have the patience of Job! That will last forever. I got out to the shop yesterday and painted the E4OD and hung the alternator and A/C/ Power Steering brackets. Going back out there today for a little more assembly! Keep posting your progress! :D
 
Here is the latest on my project! I got the grill support installed and since that held my hood pin supports, I was concerned that they might not align correctly!. They did and everything is latching and closing properly!
DSC02365.JPG


I went ahead and installed the grill.

DSC02366.JPG


That is the latest on my project! I will be gone for a couple of weeks and will pick back up with the progress then!:D
 
Here are the latest pictures on my project! I just need to install the radiator, hoses, and fan and I am ready to start adding fluids!
070.JPG


071.JPG


Ron, I might just have it in the Show on the 29th!:D
 
can I get a close up of how your prop rod goes on? I dont know where to drill and mount the end or where the safety clip goes.:headscratch:
Dave
 
I used a Mustang Hood Prop Rod on an old Cervinis Hood. In order to get the prop rod clear of the hood across the top of the radiator support, I had to make some small aluminum brackets to set the rod toward the back of the radiator support. Hope that helps! :D
 
OEM Alternator Refurbished

New drive bearing.

Stator surfaces cleaned and smoothed.

Rotor cleaned and surfaces smoothed.

Regulator contacts cleaned.

Case refinished.

Polished under-drive pulley installed.

RefurbAlt1.jpg


RefurbAlt2.jpg


RefurbAlt3.jpg
 
Last edited:
Looks great! Can't wait to see it all put together. I have a 93' that is 100% stock and I'll be doing the same thing soon. Keep the pics coming!
 
P1010153.jpg

P1010150.jpg

untitled.jpg

untitled3.jpg

untitled4.jpg

P1010002.jpg

P1010003.jpg

P10100022.jpg

P1010004.jpg

P10100015.jpg


Frame is almost back together. Still gotta get the rear back from moser and bolt up the brakes etc. Then im going to blast and coat the underside and inside of the floor with some kind of herculiner.
 
Last edited by a moderator:
Ron, what was your process on the alternator? I had a water leak at one point and it discolored my alternator....I'd like to get it back in shape.
 
Back
Top